Gutters play a crucial role in protecting your home from water damage. However, like any other home component, they can develop issues over time. One common problem is a leaking gutter, which can lead to water damage if not addressed promptly. This article provides a detailed guide on how to repair a leaking gutter effectively and why it’s essential for maintaining your home.
Understanding the Importance of Gutter Repair
Gutter repair is critical because it helps prevent water damage to your home. When gutters leak, water can overflow and seep into your home’s foundation, leading to severe structural damage.
Fixing leaks promptly ensures that the water is directed properly away from your home, preserving both the exterior and interior of your house. It also helps maintain the integrity of your landscaping by preventing soil erosion caused by uncontrolled water flow. Therefore, regular inspection and maintenance can save you time and money in the long run.
Additionally, a leaky gutter can lead to more than just water damage. It can create an environment conducive to the growth of mold and mildew, which can affect your health. By addressing gutter leaks, you’re not only saving your property but also protecting your family from potential health issues. Regular gutter repairs also enhance the overall aesthetic appeal of your home. A well-maintained gutter system reflects positively on the homeowner, showing that the property is cared for and in good condition.
Furthermore, ignoring a leaking gutter can lead to pest infestations. Stagnant water in gutters can become a breeding ground for mosquitoes and other insects, leading to infestations and potentially spreading disease. By conducting routine gutter repair, you help eliminate these breeding grounds and promote a healthier environment around your home. In essence, maintaining your gutters is a small yet significant step in preserving your home’s utility and value, making it an essential task for homeowners.
Identifying the Source of the Gutter Leak
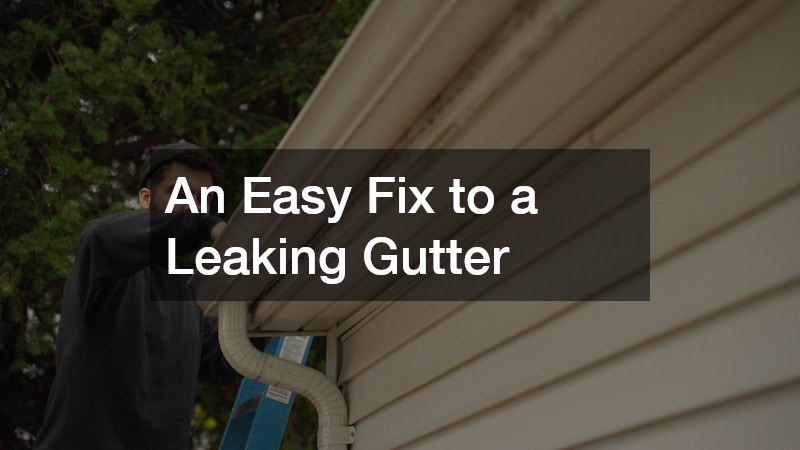
Before you can fix a leaking gutter, it’s essential to identify the source of the leak. Start by inspecting your gutters during a rainfall or simulating rain by running a hose through your gutter system. This will help you see where the water is escaping. Common areas for leaks include joints, seams, and corners of the gutters. By identifying the specific area causing the problem, you’ll be able to apply an appropriate solution quickly and efficiently.
Aside from visual inspection, it’s important to check for any physical damages such as cracks or holes that may not be immediately visible. Over time, exposure to harsh weather conditions can create small holes or cracks in the gutter system. Use your finger to feel for irregularities, as even small cracks can cause significant leaks over time. Additionally, check for signs of rust, especially in older metal gutters, as rust can lead to degraded gutter material and more extensive leaks.
Steps to Repair the Gutter Leak
Once the source of the leak is identified, it’s time to start the gutter repair process. First, ensure that the gutters are clean and free of debris. Debris accumulation can affect the effectiveness of the sealant, so it’s crucial to clear the gutters completely. Use a gutter scoop or small spade to remove leaves and dirt, followed by washing the gutter with a hose to ensure a clean surface. Ensure you have protective equipment on hand, including gloves and goggles, for a safe cleaning process.
After cleaning, prepare a suitable sealant designed for gutter repair. Use a high-quality silicone or waterproof sealant to fix leaks at joints or seams. Apply the sealant liberally over the leaking area, ensuring complete coverage, then smooth it out with a caulking tool or finger to bond firmly with the gutter surface. Allow the sealant to dry according to the manufacturer’s instructions, avoiding any water contact until it has thoroughly dried to maintain its effectiveness.
For areas where the gutter may have holes or cracks, use a patch for a durable repair. Cut a patch from a similar material as your gutter, ensuring it’s slightly larger than the hole. Apply roofing cement around the hole, then place the patch over it, pressing firmly to secure it. Cover the patch edges with additional roofing cement to create a waterproof seal. These steps are cost-effective and efficient, turning a faulty gutter into a well-functioning system once again.
Maintaining Your Gutters Post-Repair
Once repairs are completed, maintaining your gutters regularly is crucial. Schedule twice-a-year inspections, especially in spring and fall, to ensure they function properly. During these inspections, clear debris and check for potential new leaks or damage, preventing small issues from becoming bigger problems. Proactive gutter maintenance prevents costly future repairs and ensures the longevity of your home’s drainage system, protecting your property investments.
Lastly, don’t hesitate to seek professional help if you encounter persistent problems or if the repair work seems beyond your capabilities. Professional gutter services offer expertise and proper tools, ensuring a comprehensive repair solution. Regular check-ups from professionals, combined with your own maintenance efforts, create a robust defense against leaks. In essence, adhering to a consistent maintenance routine is vital to sustaining your gutter system’s efficiency.