Highlights:
- Identify the type of hole first – Small dents, nail/screw holes, medium holes, and large holes each require different repair methods.
- Gather the right tools and materials – Having putty knives, spackle, joint compound, drywall patches, sanding tools, and primer ready makes repairs smoother and faster.
- Follow proper step-by-step repair techniques – Cleaning, applying compound, feathering edges, drying, sanding, and priming are crucial for a seamless finish.
- Feather and sand edges carefully – Smooth edges between the patch and wall prevent visible seams and ensure the repair blends naturally.
- Prime before painting – Primer prevents the patch from absorbing excess paint and ensures consistent wall color.
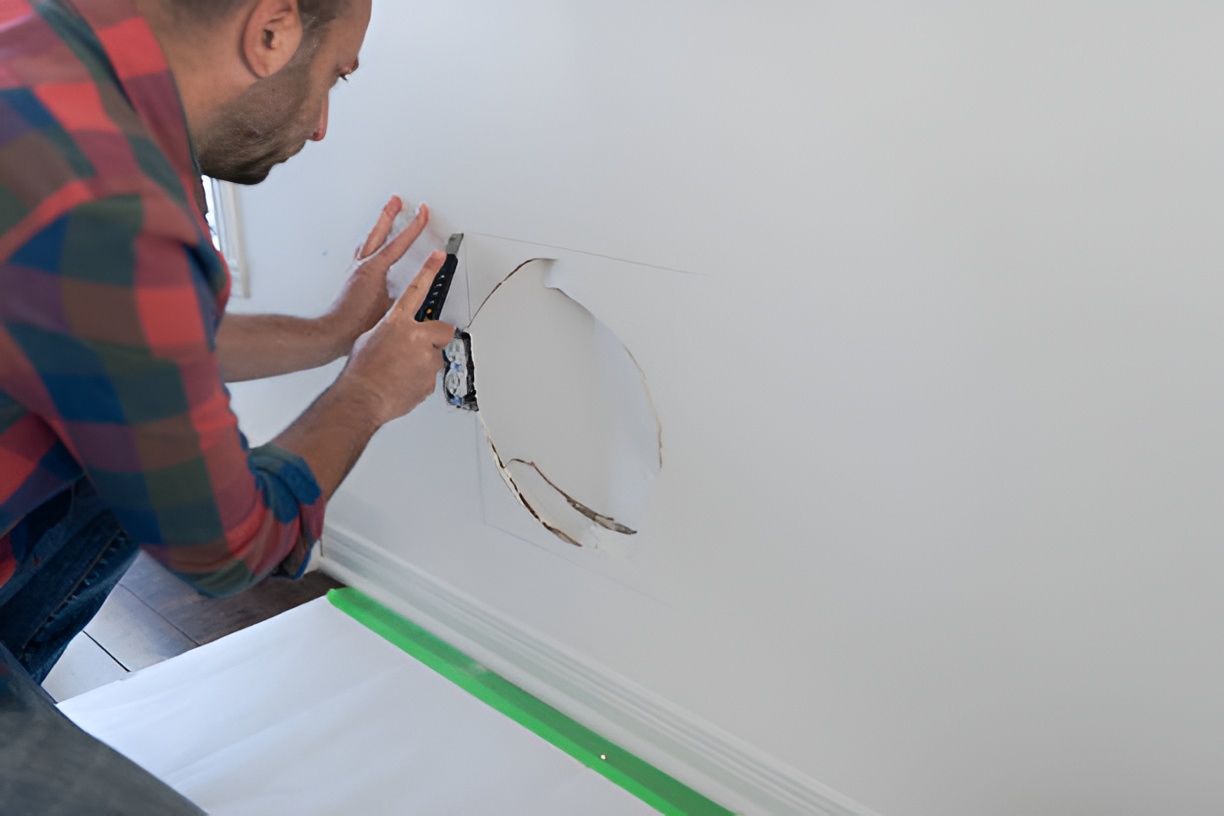
Drywall damage happens to every homeowner at some point. Whether it’s a small dent from a door handle, a nail hole from hanging pictures, or a large gaping hole from an accident, knowing how to repair a hole in drywall can save you money and keep your walls looking great. In this guide, we’ll cover everything from tiny dents to major repairs, including step-by-step instructions, tools, materials, and tips to get a smooth, professional-looking finish.
Why Should You Repair Drywall Holes Yourself?
Before we dive into the repair process, let’s talk about why DIY drywall repair is worth it:
- Cost savings: Hiring a professional can cost $100–$300 for small to medium repairs. Doing it yourself only requires materials, which are often under $20 for small jobs.
- Quick fixes: Small dents and holes can be fixed in under an hour.
- Control over quality: You can ensure the repair matches your wall texture and paint.
- Satisfaction: There’s a real sense of accomplishment in fixing your walls yourself.
Knowing these benefits can motivate you to tackle even bigger drywall repairs with confidence.
What Types of Holes Are Common in Drywall?
Drywall damage comes in many forms, and the repair approach depends on the type and size of the hole:
- Small dents and dings: Usually caused by furniture bumps or minor accidents.
- Nail and screw holes: Common when hanging pictures, shelves, or wall decor.
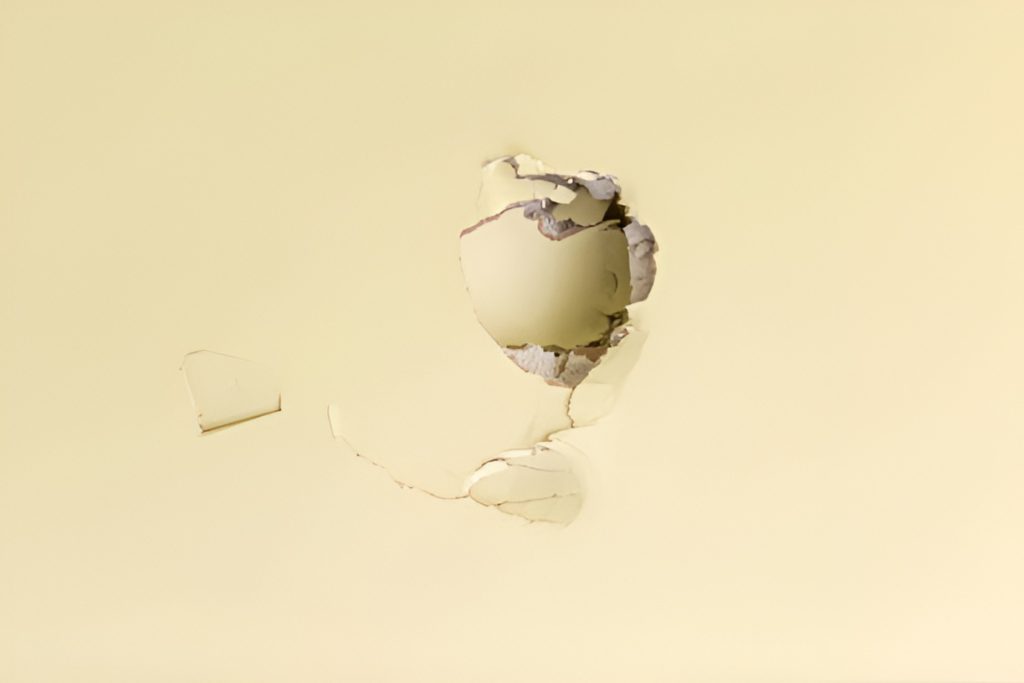
- Medium holes: Roughly 1–6 inches in diameter, often from doorknob impacts or minor accidents.
- Large holes: Bigger than 6 inches, often from serious impacts, water damage, or removed fixtures.
Identifying the type of hole first will help you choose the right repair method.
What Tools and Materials Will You Need?
Before starting, gather the following tools and materials:
For small to medium holes:
- Putty knife (2–6 inch)
- Spackle or joint compound
- Sanding sponge or sandpaper (120–220 grit)
- Drywall patch (mesh or self-adhesive for medium holes)
- Primer and paint
For large holes:
- Utility knife
- Drywall sheet
- Drywall saw
- Drywall screws
- Screwdriver or drill
- Joint tape
- Joint compound
- Sandpaper and sanding block
- Paint and primer
Having the right tools ready makes the process smoother and avoids mistakes.
How Do You Repair Small Dents and Dings?
Small dents and dings are the easiest type of drywall damage to fix, but doing them properly ensures a smooth, professional-looking wall. Here’s a detailed approach:
1. Clean the area
Start by wiping the dent and surrounding wall with a damp cloth. Remove any dust, paint flakes, or loose drywall. This ensures the spackle adheres properly and prevents bumps from forming later. For stubborn debris, gently scrape the area with the edge of a putty knife.
2. Apply spackle or joint compound
Using a 2–3 inch putty knife, scoop a small amount of spackle and press it directly into the dent. Fill it slightly above the wall’s surface, because the compound will shrink slightly as it dries. For very shallow dents, a thin layer is enough.
3. Smooth it out
Hold the putty knife at a 30–45 degree angle and scrape off excess spackle. Feather the edges outward so it blends seamlessly with the surrounding wall. Take your time; smooth edges reduce sanding later.
4. Let it dry
Drying usually takes 1–2 hours for small dents, but check the manufacturer’s instructions. Make sure it’s fully dry before sanding to avoid pulling the patch up.
5. Sand the surface
Use fine-grit sandpaper (150–220 grit) to smooth the dried patch. Sand lightly in circular motions, checking from multiple angles and under good lighting to ensure it’s flush with the wall.
6. Prime and paint
Apply a coat of primer to the patched area before painting. This prevents the spackle from absorbing more paint than the surrounding wall, which can cause noticeable differences in texture or color. After priming, paint to match the wall.
Tip: Inspect the repair under bright light to catch any imperfections. For very shallow dents, a single thin layer of spackle may suffice without sanding, but priming is still recommended for the best finish.
How Do You Repair Nail and Screw Holes?
Even tiny nail or screw holes can be noticeable if ignored. Fortunately, they are among the fastest repairs you can do. Here’s a step-by-step guide:
1. Clean the hole
Remove any loose debris or dust inside the hole using a small brush, toothpick, or a gentle puff of air. A clean hole ensures the spackle sticks properly.
2. Fill with spackle or lightweight joint compound
Use a putty knife to push spackle directly into the hole. For very small holes, you can even use your finger to press the spackle in. Make sure the hole is completely filled.
3. Add support for deeper holes
If the hole is deeper than ½ inch, insert a toothpick, matchstick, or small piece of wooden dowel into the hole. This gives the spackle something to grip and prevents shrinkage or cracking.
4. Smooth over the surface
Hold the putty knife at an angle and remove any excess compound. Feather the edges slightly to make sanding easier later.
5. Let it dry, sand, and paint
Small holes often dry in under an hour. Sand lightly to make the surface flush with the wall, then prime and paint.
Quick tip: Nail holes in high-traffic areas can sometimes appear over time. Consider filling multiple nail holes at once if you’re doing a room-wide touch-up to save time.
How to Repair Medium Holes (1–6 inches)
Medium-sized holes are too big for simple spackle and need a patch for a durable repair. Here’s how to do it step by step:
Materials needed:
- Self-adhesive mesh patch or a cut piece of drywall
- Putty knife
- Joint tape
- Joint compound
- Sandpaper
- Primer and paint
Step 1: Trim the hole
Use a utility knife to square off the hole and remove any jagged or loose edges. Clean edges make it easier to attach a patch.
Step 2: Apply the patch
- For self-adhesive mesh patches: peel and stick directly over the hole, pressing firmly.
- For a drywall piece: cut a square or rectangle slightly larger than the hole, and attach it with screws or adhesive if needed.
Step 3: Tape the edges
Cover the seams of the patch with joint tape. This prevents cracking and ensures the patch blends with the surrounding wall.
Step 4: Apply joint compound
Spread a thin layer over the patch and feather the edges outward. Let it dry for 24 hours. For larger patches, a second layer may be needed for a smooth finish.
Step 5: Sand the surface
After the compound is fully dry, sand lightly with fine-grit sandpaper to blend the patch into the wall.
Step 6: Prime and paint
Apply a coat of primer, then paint to match the surrounding wall.
Tip: Feathering the joint compound edges is crucial. Take your time to smooth the edges, and check your work from multiple angles to ensure a seamless finish.
How Do You Repair Large Holes?
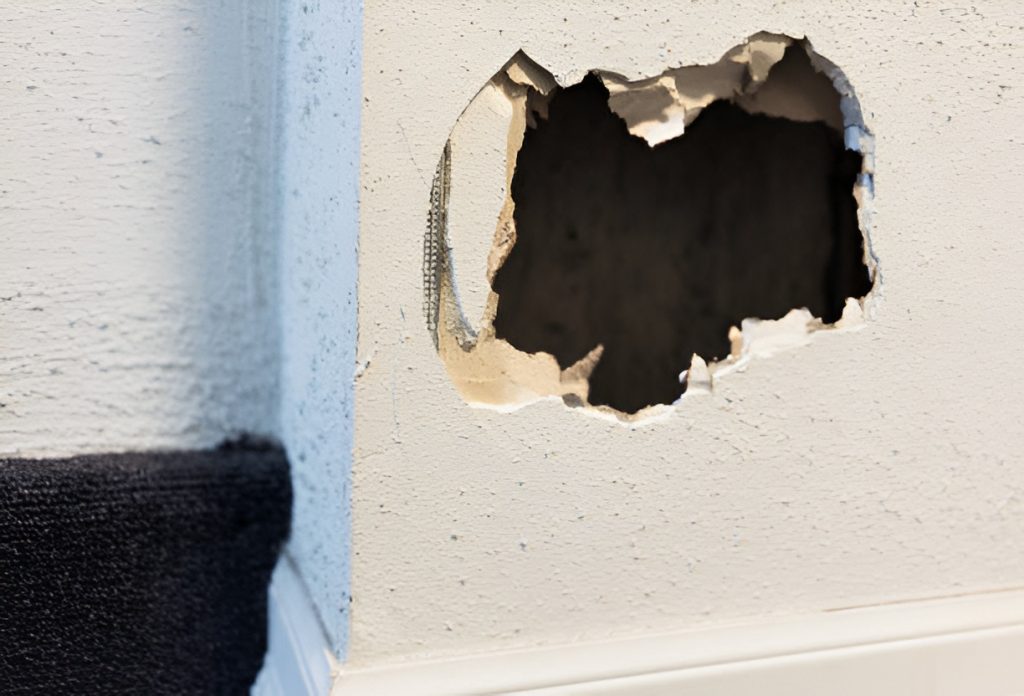
Large holes, typically over 6 inches, require more preparation and a proper drywall patch. Here’s the complete process:
Step 1: Cut a clean hole
Use a drywall saw to square off the damaged area. Removing jagged edges makes it easier to fit a new piece of drywall.
Step 2: Cut a drywall piece
Measure the hole and cut a matching piece of drywall. It should fit snugly within the cut area.
Step 3: Attach backing
Install a small piece of wood (1×2 or similar) inside the wall cavity. Screw it in place so it extends slightly past the hole. This gives the new drywall patch something solid to attach to.
Step 4: Secure the drywall patch
Place the new drywall piece into the hole and screw it into the backing wood. Make sure the patch is flush with the wall surface.
Step 5: Tape the seams
Cover all edges with joint tape. Press firmly to avoid air bubbles.
Step 6: Apply joint compound
Spread a thin layer of joint compound over the patch and seams. Feather the edges outwards to blend into the existing wall. Let dry completely, usually 24 hours. For large patches, apply a second or third layer for a perfectly smooth surface.
Step 7: Sand smooth
Once the final layer dries, sand the patch smooth. Check under bright light to catch any imperfections.
Step 8: Prime and paint
Seal the patch with primer, then paint to match the wall. Large patches may require touch-ups to ensure a perfect color match.
Tip: Large holes often take multiple days to repair because each compound layer needs to dry fully. Rushing this step can lead to cracking or an uneven finish.
What Are Some Common Mistakes to Avoid?
Even small errors can make drywall repairs look sloppy. Watch out for these:
- Using too much compound at once
- Not letting layers dry completely
- Skipping sanding between layers
- Painting directly over spackle without primer
- Ignoring feathering edges
Avoiding these mistakes will give your repair a professional finish every time.
Can You Fix Textured Walls?
Many walls have textures like knockdown or orange peel. You can repair these too:
- Small dents: Apply joint compound, then use a sponge or brush to replicate the texture.
- Medium/large holes: Patch as usual, then recreate the texture before the compound dries completely.
- Spray textures: Some textures are easiest recreated using aerosol texture spray for a consistent look.
Always practice on a scrap piece first to match your wall’s texture accurately.
How Long Will Drywall Repairs Last?
If done correctly, drywall repairs can last for decades. Key factors include:
- Properly feathering and sanding edges
- Using primer before painting
- Avoiding moisture exposure
- Using quality joint compound
Regular inspection can help spot cracks early, especially in high-traffic areas or walls prone to bumps.
Quick Tips to Make Repairs Easier
- Work in good lighting to spot imperfections.
- Keep the putty knife at a slight angle for smoother application.
- Use a sanding block instead of loose sandpaper for even pressure.
- Label multiple coats when drying to avoid confusion.
- For multiple small holes, fill them all at once to save time.
When Should You Call a Professional?
While DIY is great, some situations require professional help:
- Large holes in load-bearing walls
- Extensive water damage
- Cracks that keep reappearing
- Complicated textured or specialty walls
Calling a pro in these cases can save time, ensure safety, and prevent further damage.
How to Maintain Your Drywall After Repair
- Avoid hanging heavy objects near repaired areas for at least a week.
- Inspect walls periodically for new dents or cracks.
- Keep walls dry and free from excessive humidity.
- Touch up paint if you notice color fading over time.
Regular maintenance ensures your walls stay smooth and damage-free longer.
Final Thoughts
Repairing drywall might seem intimidating at first, but with the right tools, techniques, and a bit of patience, even large holes can be fixed successfully. From small dents to major damage, taking the time to follow proper steps ensures your walls look smooth and professional.
Remember, preparation is key: clean edges, the right patching materials, and careful feathering of joint compound make all the difference. Don’t rush the process, especially when drying and sanding between layers.
Whether you’re a first-time DIYer or an experienced homeowner, mastering drywall repair not only saves money but also gives you confidence to handle future repairs. With these tips and techniques, you can keep your walls looking flawless and your home in great shape.