Key Takeaways:
- Drywall anchor holes vary in size; repair methods depend on hole size.
- Small holes can be filled with spackle, while larger holes may need patches.
- Sanding, priming, and painting are crucial for a clean finish.
- Avoid mistakes like skipping sanding or painting too soon.
- Prevent future holes with adhesive hooks or proper anchors.
Drywall anchor holes are one of those small but irritating issues that can make a wall look worn or unfinished. Whether you removed a picture, a shelf, or a curtain rod, those little craters can leave your walls looking messy. The good news? Fixing them is simpler than you think, and with the right approach, you can make your wall look brand new in no time. In this guide, we’ll cover everything you need to know about how to repair drywall anchor holes quickly and cleanly.
What Are Drywall Anchor Holes?
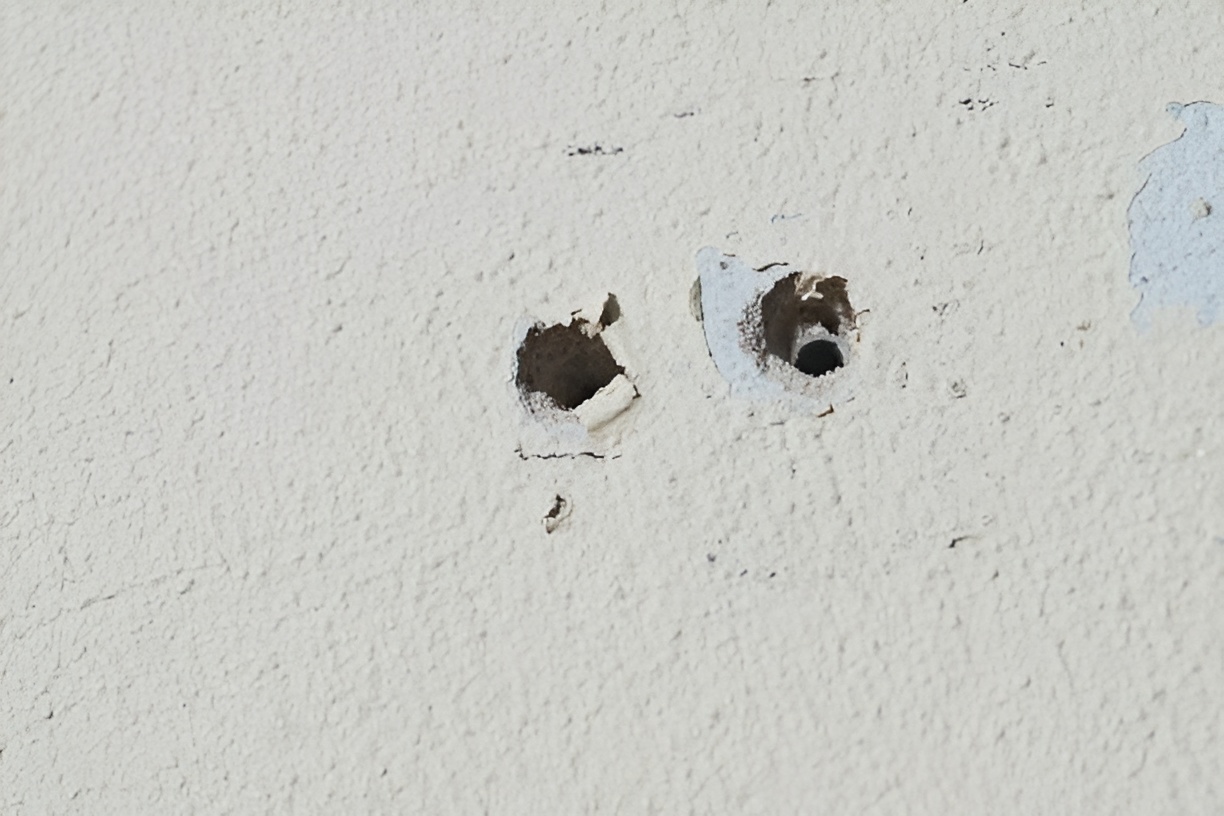
Before jumping into repairs, it helps to understand what you’re dealing with. Drywall anchors are used to secure items to drywall without needing a stud. They work well for medium-weight items like shelves, mirrors, and curtain rods. However, when removed, they leave behind holes that can vary in size depending on the anchor type.
If you’ve ever wondered how to repair a hole in drywall, knowing the type of hole you’re dealing with is the first step. The size and style of the anchor affect the repair method you’ll need.
- Plastic expansion anchors – Typically small, around 1/4 inch in diameter.
- Threaded drywall anchors – Slightly larger and may tear surrounding drywall.
- Toggle or molly bolts – Can leave holes up to 1/2 inch wide, sometimes larger.
Understanding the hole type ensures you can choose the right repair technique and materials, making the process quicker and cleaner.
Why You Should Fix Drywall Anchor Holes
You might be wondering: “Do I really need to repair these holes?” The answer is yes, for several reasons:
- Aesthetics: Even tiny holes can be noticeable, especially after painting.
- Wall integrity: Large or multiple holes weaken drywall over time.
- Resale value: Unrepaired walls can reduce your home’s appeal to buyers or renters.
- Paint finish: Painting over holes without repair can lead to uneven surfaces and peeling paint.
Fixing drywall anchor holes is a small investment of time that pays off in a cleaner, more professional-looking wall.
What Tools and Materials Do You Need?
Having the right tools on hand will make the repair process much faster and cleaner. Here’s what you’ll need:
Basic Tools:
- Putty knife (2- to 4-inch)
- Sanding block or fine-grit sandpaper
- Utility knife
- Small paintbrush or roller
Materials:
- Spackle or joint compound (for small holes)
- Drywall patch (for larger holes)
- Primer and paint that match your wall color
Optional tools for larger holes:
- Mesh tape
- Lightweight drywall patch kit
How to Repair Small Drywall Anchor Holes (1/4 inch or smaller)
Small holes from standard plastic anchors are the easiest to fix. Here’s a simple process:
- Clean the hole: Remove any debris or leftover anchor pieces.
- Apply spackle: Use a putty knife to fill the hole completely.
- Smooth the surface: Spread the spackle slightly beyond the hole so it blends with the wall.
- Let it dry: Drying times vary; check the spackle container.
- Sand gently: Once dry, sand the area smooth with a fine-grit block.
- Paint: Touch up with wall paint to match the surrounding surface.
Tip: For very tiny holes, even a dab of spackle with your finger can work in a pinch.
How to Repair Medium Drywall Anchor Holes (1/4 to 1/2 inch)
Medium-sized holes may require more attention to avoid a bumpy finish.
- Remove damaged drywall: If the edges of the hole are jagged, use a utility knife to square it off.
- Fill with spackle or joint compound: Layer the compound in two steps if needed. Let the first layer dry before applying a second coat.
- Sand smooth: Sand between coats for a seamless finish.
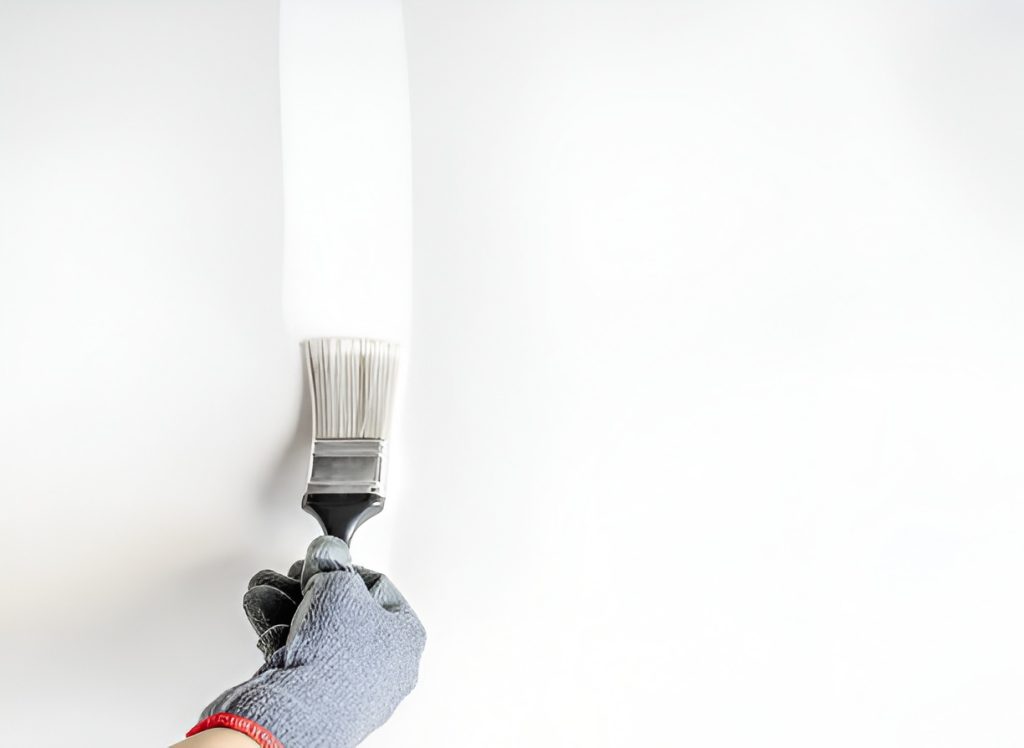
- Prime and paint: Larger repairs benefit from a primer before painting to prevent discoloration.
Pro tip: If you notice cracking around the hole, consider using a small piece of mesh tape to reinforce the patch.
How to Repair Large Drywall Anchor Holes (over 1/2 inch)
Holes left by toggle bolts or heavy anchors require more substantial repairs.
- Prepare the hole: Cut it into a neat square or rectangle to make patching easier.
- Install a drywall patch:
- Use a pre-cut patch or cut a piece of drywall to fit the hole.
- Place the patch into the hole and secure it with mesh tape or adhesive backing.
- Apply joint compound: Cover the patch completely and feather the edges for a smooth transition.
- Sand and repeat: Large patches may need multiple coats and sanding between layers.
- Prime and paint: Priming ensures the repaired area blends seamlessly with your wall color.
Tip: If you want a truly invisible repair, make sure the final sanding feather extends at least an inch beyond the patch edges.
Common Mistakes to Avoid
Even with a casual DIY approach, avoiding mistakes ensures your repair looks professional:
- Skipping sanding: A bumpy finish is one of the most noticeable issues.
- Using the wrong spackle: Lightweight spackle is ideal for small holes; heavier joint compound is better for larger repairs.
- Painting too soon: Make sure the compound is completely dry to avoid cracking.
- Ignoring surrounding wall damage: Check for dents or scratches near the hole to address them at the same time.
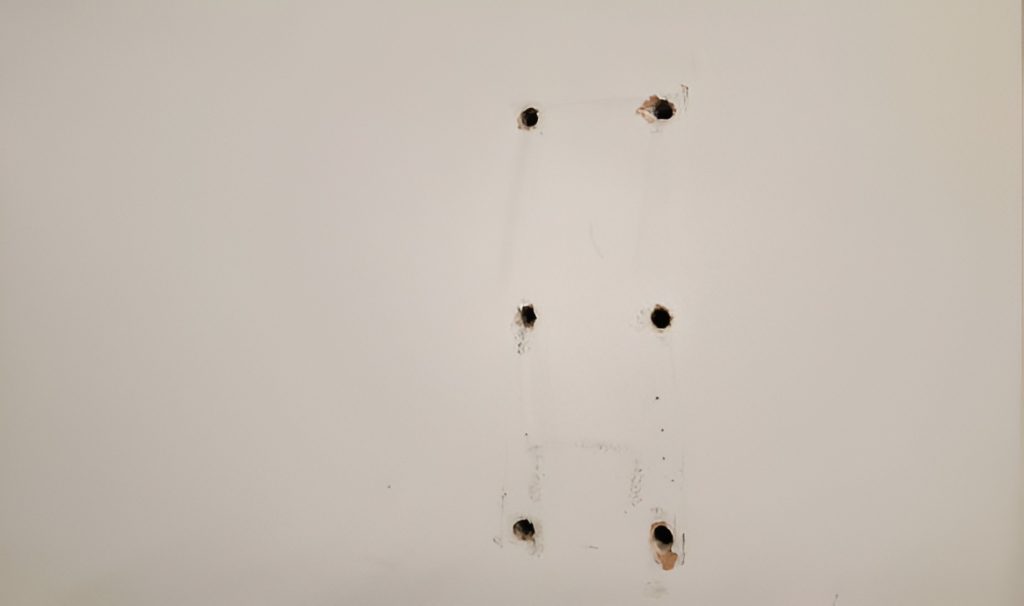
Can You Repair Multiple Holes at Once?
Absolutely. In fact, fixing multiple holes together can save time and provide a more consistent finish:
- Clean all holes and remove debris.
- Apply spackle or joint compound to each hole in a single session.
- Sand all areas once dry to keep wall texture consistent.
- Paint the entire section for a seamless look.
Batch repairs are especially useful if you’re moving out of a rental or redecorating a whole room.
How Long Does It Take to Repair Drywall Anchor Holes?
The repair time depends on the hole size and method:
- Small holes: 10–20 minutes plus drying time.
- Medium holes: 20–40 minutes over multiple layers plus drying.
- Large holes: 1–2 hours over several steps plus drying.
Pro tip: Drying time is the real limiting factor. Using fast-drying spackle can cut down repair time significantly.
How to Make the Repair Invisible
If your goal is a perfectly smooth wall, consider these tips:
- Feather the joint compound edges.
- Use fine-grit sandpaper for the final sanding.
- Apply a primer to prevent the repaired spot from absorbing paint differently.
- Use a paintbrush for touch-ups instead of a roller for better control.
Small attention to detail makes a huge difference in making repairs invisible.
Quick Fixes vs. Long-Term Repairs
Sometimes you need a fast patch, other times a long-lasting solution.
Quick fixes:
- Small spackle fills
- Touch-up paint
- Minimal sanding
Long-term solutions:
- Reinforced patches for larger holes
- Multiple layers of joint compound
- Full primer and paint coverage
Choose the method depending on how visible the wall is and how permanent you want the repair.
Can You Avoid Drywall Anchor Holes in the Future?
Preventing holes is always better than repairing them. Here’s how:
- Use adhesive hooks or strips for lighter items.
- Find studs before installing anchors for heavy objects.
- Select anchors appropriate for the item weight and wall type.
- Consider repositioning items to minimize wall damage.
Being strategic with wall mounts reduces both holes and repair work later.
Tools That Make Repairs Faster
For those who repair drywall frequently, investing in a few tools can speed up the process:
- Electric sander: Speeds up sanding for medium or large holes.
- Corner spackle tools: Helps apply compound smoothly in tricky spots.
- Quick-dry spackle: Reduces wait times between layers.
- Paint edgers: Makes touch-ups clean and precise.
Even basic improvements to your toolkit can turn a tedious repair into a quick task.
How to Repair Drywall Anchor Holes on Textured Walls
Textured walls pose a unique challenge: you’ll need to match the wall finish.
- Repair the hole with spackle or joint compound.
- Use a texture spray or a small sponge to replicate the wall texture.
- Let it dry completely before sanding lightly to blend edges.
- Touch up with paint.
Matching the texture may take some trial and error, but the result can be nearly invisible.
How Often Should You Inspect Walls for Holes?
Even if walls look fine, a periodic check helps catch issues early:
- After removing pictures, shelves, or curtain rods
- During seasonal cleaning or redecorating
- Before painting or renovating rooms
Fixing small holes immediately prevents them from becoming more noticeable or damaging the wall over time.
Final Tips for Quick and Clean Repairs
- Always clean the hole before applying spackle.
- Apply thin layers; multiple coats are better than one thick layer.
- Sand lightly between coats for smoothness.
- Use primer before painting larger patches.
- Match paint carefully to avoid visible repairs.
Following these simple practices ensures your repair is fast, clean, and professional-looking.
Wrapping It Up
Knowing how to repair drywall anchor holes quickly and cleanly is a handy skill for any homeowner or renter. Whether you’re fixing a small hole from a picture hook or a larger one from a heavy anchor, the right tools, materials, and techniques make the process straightforward. With patience and attention to detail, you can restore your walls to a smooth, flawless finish without calling a professional.